
Espresso UI test automation framework is Google’s de-facto testing platform for Android app developers.
The way it is easily used from within Android Studio and IntelliJ IDEA IDE’s makes it a powerful tool that differentiates it from other open-source cross-platform solutions such as Appium and other commercial tools.
Before drilling into basic setup and execution of an Espresso simple test, let’s first understand some of the basics:
- Espresso is an Android only test automation framework (not cross platform like Appium/Selenium)
- Espresso requires a separate APK package running in parallel with the application under test
- Espresso is not Dev-Language Free framework like Appium (that supports Java, JS, Python, C#, Perl)
Positive Motivations to Use Espresso
- The Espresso framework is embedded into the entire dev workflow and IDE, and that makes the adoption and leverage higher
- Espresso can be used to do a quick post-commit validation of a fix or new code implementation, and also as part of a larger test scale within the CI workflow.
- Espresso provides fast feedback to its users which is a big advantage since it is running on the device/emulator side-by-side with the app
- Espresso supports annotations to determine the test execution scope (small/medium/large) which organizes the overall testing cycle for both dev and test
- Espresso has unique synchronization method in its core making the tests less flaky and more robust. It will pass to the next test step in the code only once the view is available on the device screen in opposed to other tools that can easily fail without having timers, validation points and more.
Basic Espresso Framework Methods:
Espresso framework allows the automation developer to manipulate the test using 3 concepts:
- View Matchers
- View Actions
- View Assertions

As seen in the above definition, onView(xxx) of a specific object on the app screen, an Action will be performed and an Assertion will be made to validate the end result.
Espresso Setup
The setup within Android studio is quite simple, and there is plenty of documentation in the google community around it.
The developer will edit his build.Gradle file for the application under test to include the Espresso framework dependency, the JUnit version, and the InstrumentationRunner (see below example)

Once the above is done, it is time to create for the corresponding app the test class.
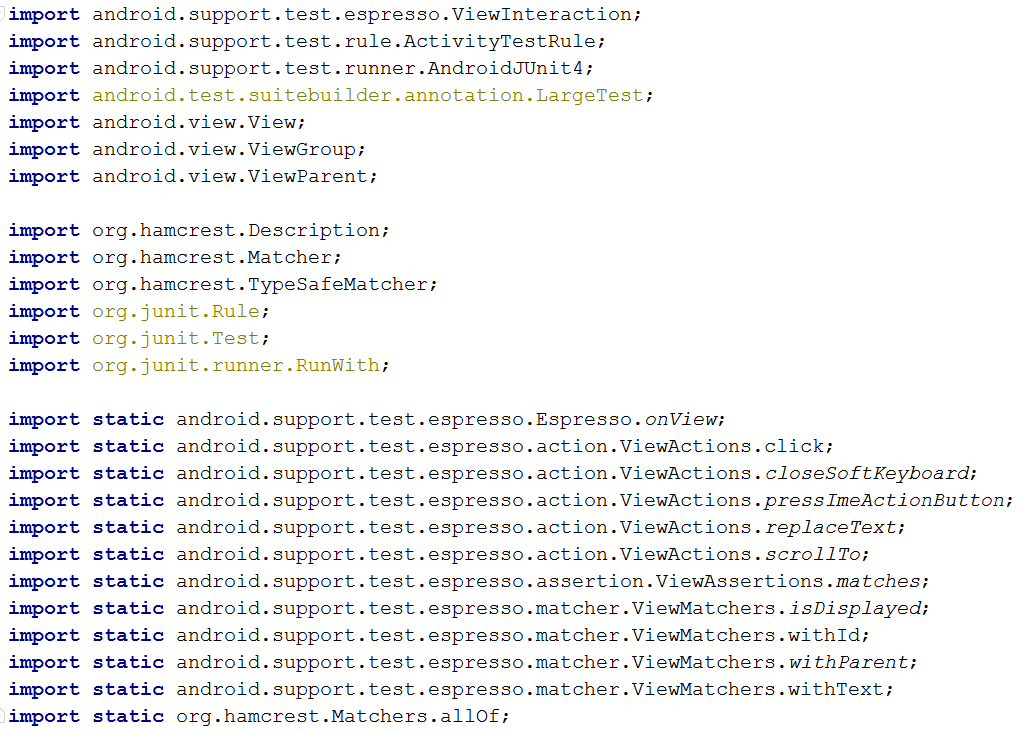
This class will need to include through Import, few libraries that are required by the Espresso test (below example)
Test Code Implementation
In order to develop an Espresso UI automation, the developer must have the unique object identifiers for the application under test.
To study the app objects (Hamcrest Matchers) the developer can use various methods:
- UIAutomation.bat tool that is built into the Android Studio SDK
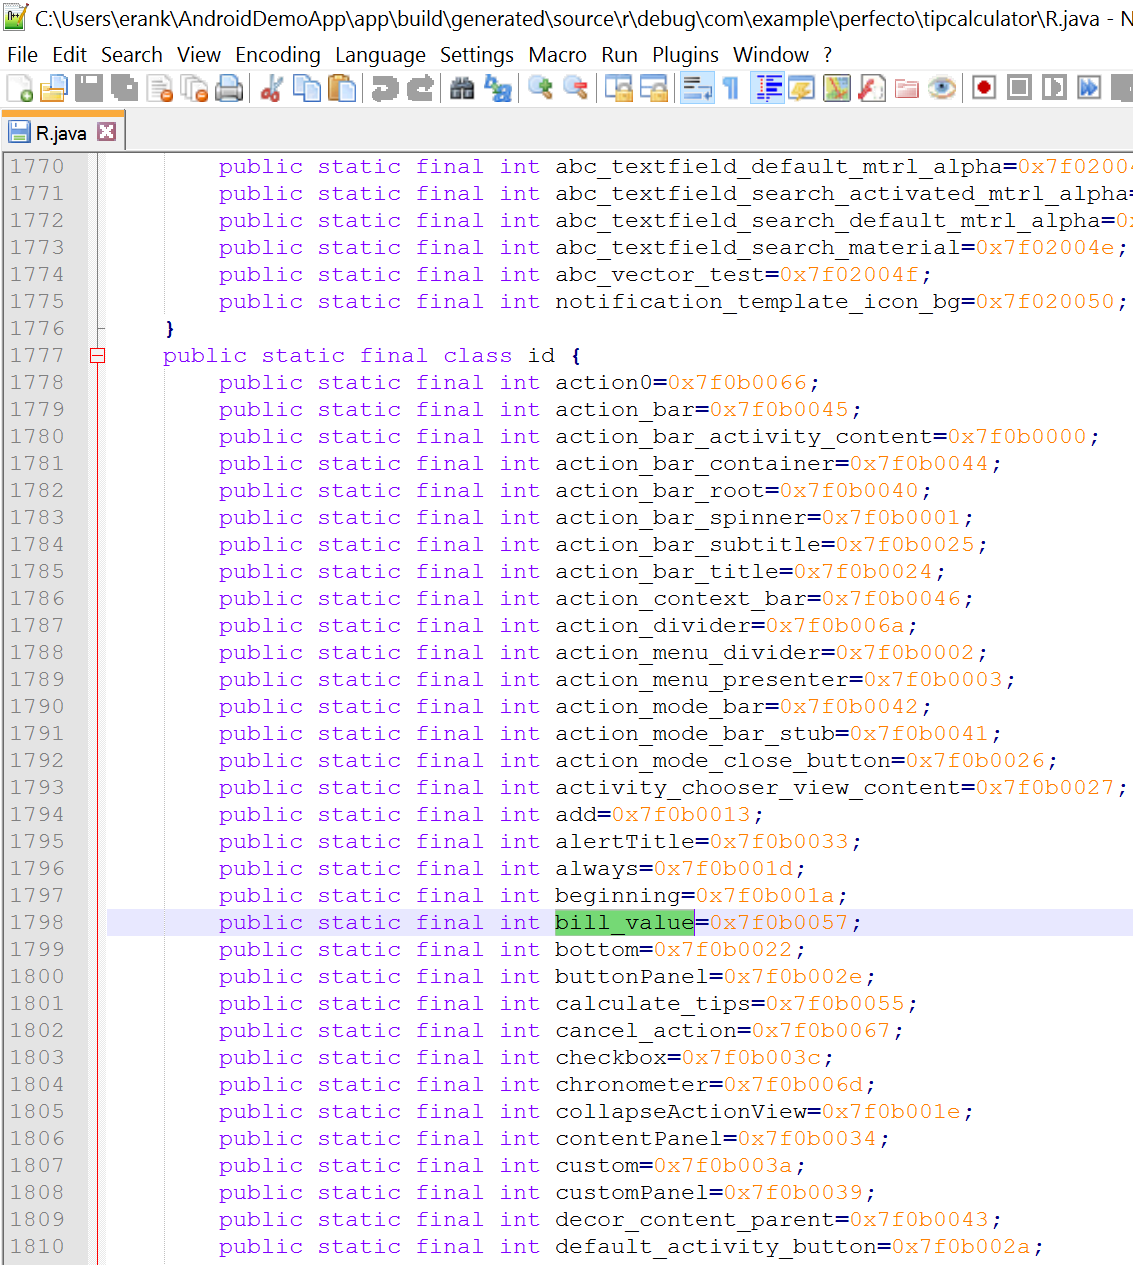
- All resource ID’s should be automatically be stored in a dynamically generated R.java file
- Object spy within tools that supports Espresso (Perfecto and others).
Looking at a simple TipCalculator application, you can see through the UIAutomator spy, that the text box object ID is named bill_value

In the R.java file, it will look like this (choose the best method you find comfortable)
When implementing the Espresso test code, we will leverage the ObjectID as part of the onView method to perform a Click prior to entering an input value to that text box.

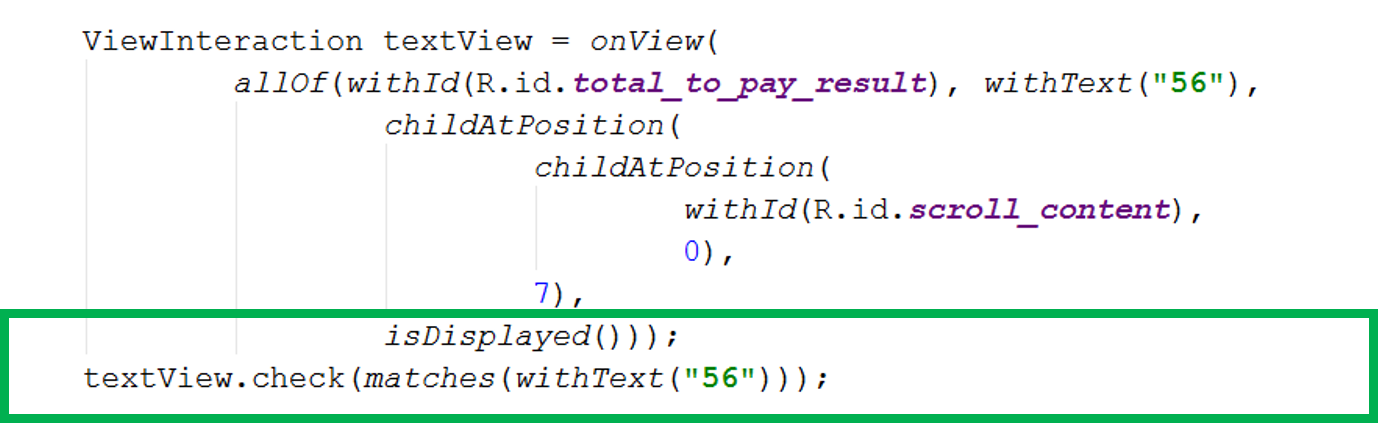
In order to perform a type of value into the above Total Bill text box, we will use the 2nd method provided by Espresso, that is. Perform:

Once we are done with the action, we would like to assure that the result of that action is as expected, and this is when the developer will use the assertion method .Check
Finally, once the entire test suite is implemented and ready – running the test from Android Studio is very simple.
Select the Test class from the Edit Configurations menu in Android studio and chose run. Select your target (ADB connected device, cloud devices, emulators).

At the end of a test, a basic test report will be provided to the user.
Running Espresso Tests in Parallel – Using Spoon
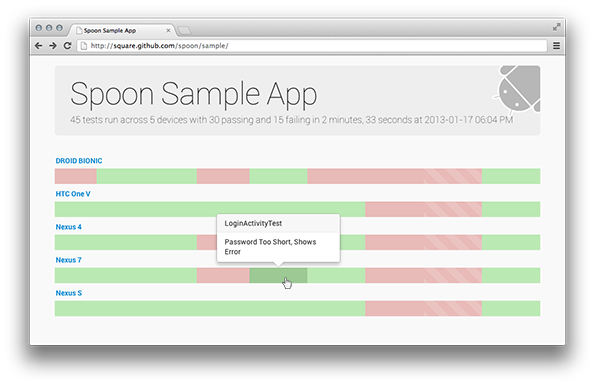
No test engineer or developer will be quite unless it validates the functionality of his app on multiple devices and emulators. For that, there is another widely used tool called Spoon (there are also cloud-based solutions as mentioned above that support parallel execution on real devices). This tool, will collect all the target devices (that are visible via adb devices) test results and aggregate them into one HTML view that can be easily investigated.
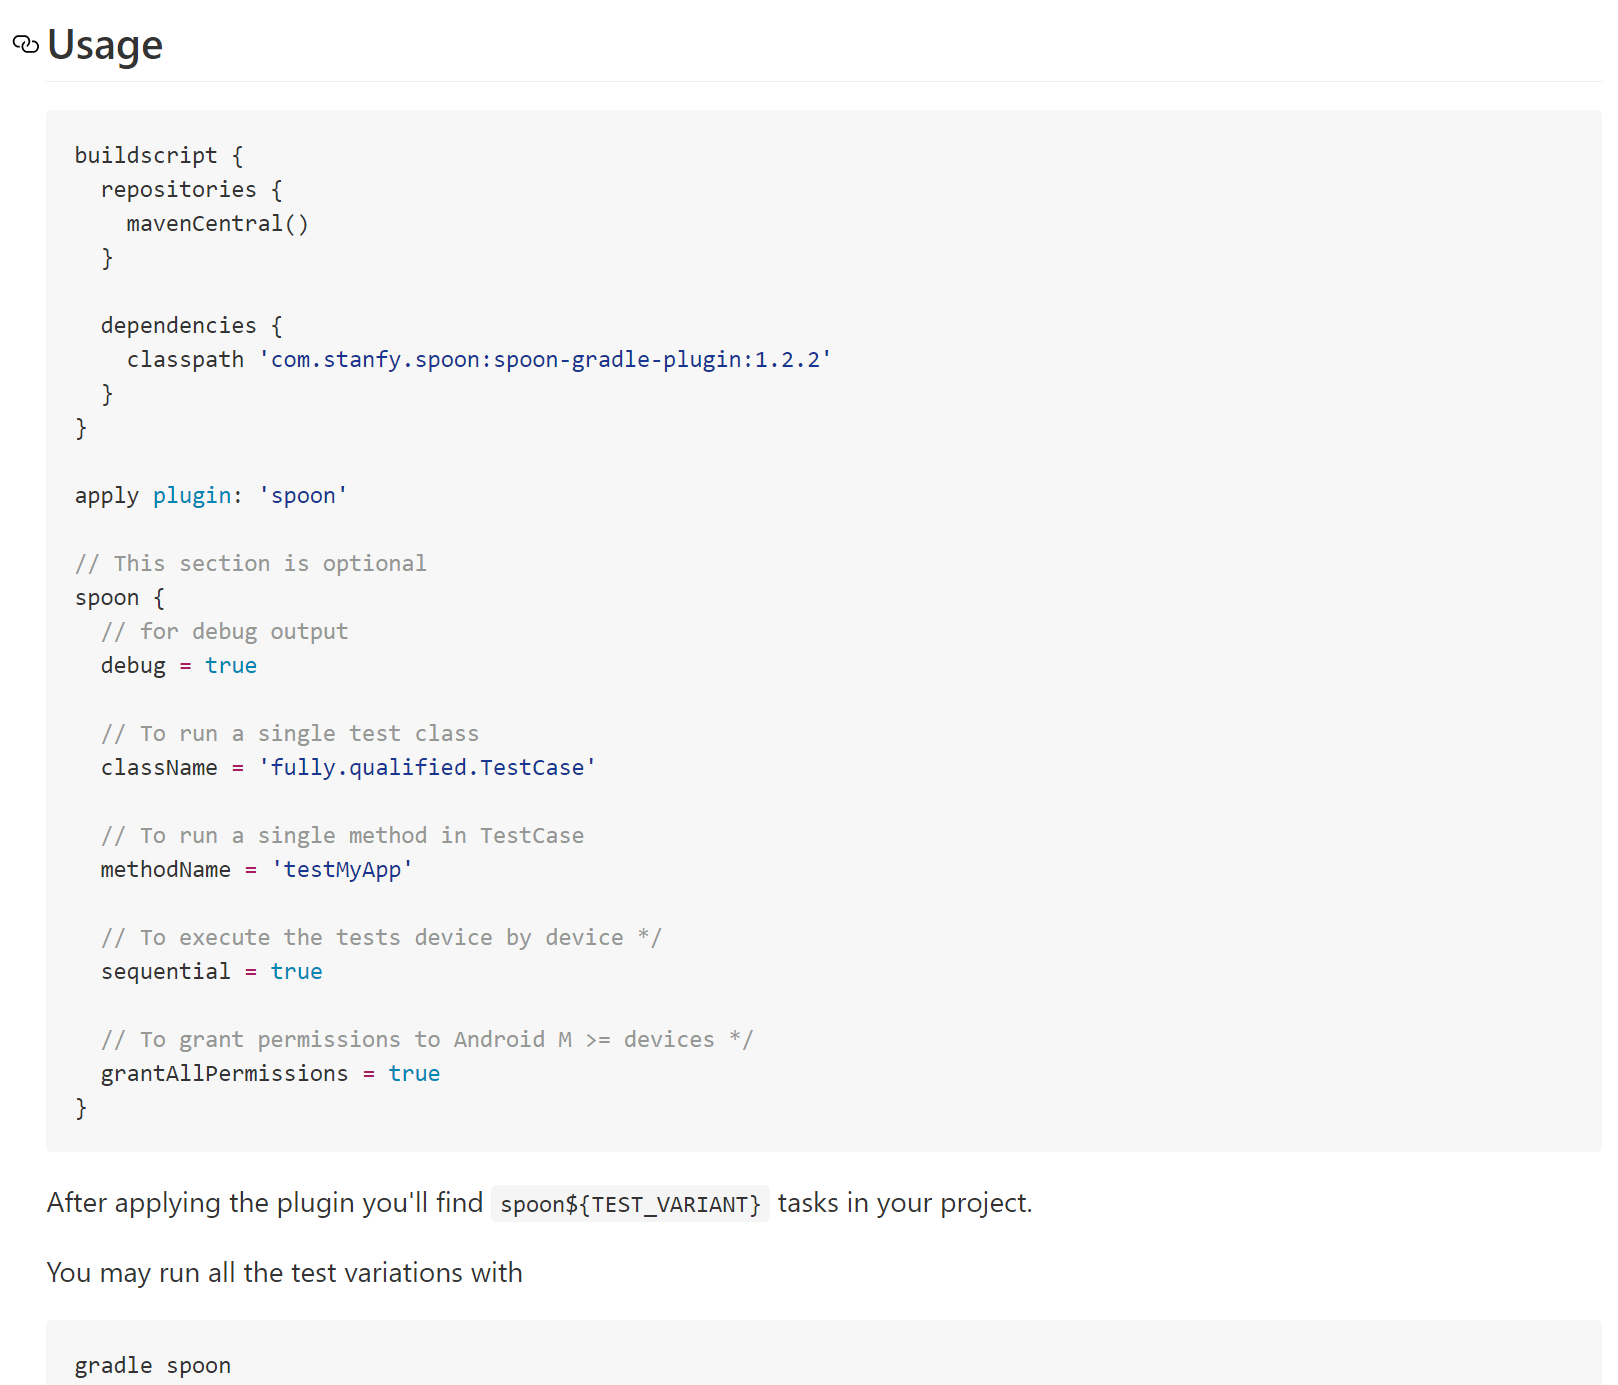
In order to leverage Spoon, please download the Gradle for spoon plugin and install it. Post installation, configure as follows
By default, Spoon will run your tests on all ADB connected devices, however, if you want to run concrete devices and skip others in order to reproduce a specific defect on 1 device, you can configure spoon accordingly

Good Luck!

One Reply to “”